Blog
Process Maps for Stage-Gate Success
Optimizing your Stage-Gate Process with a Process Map
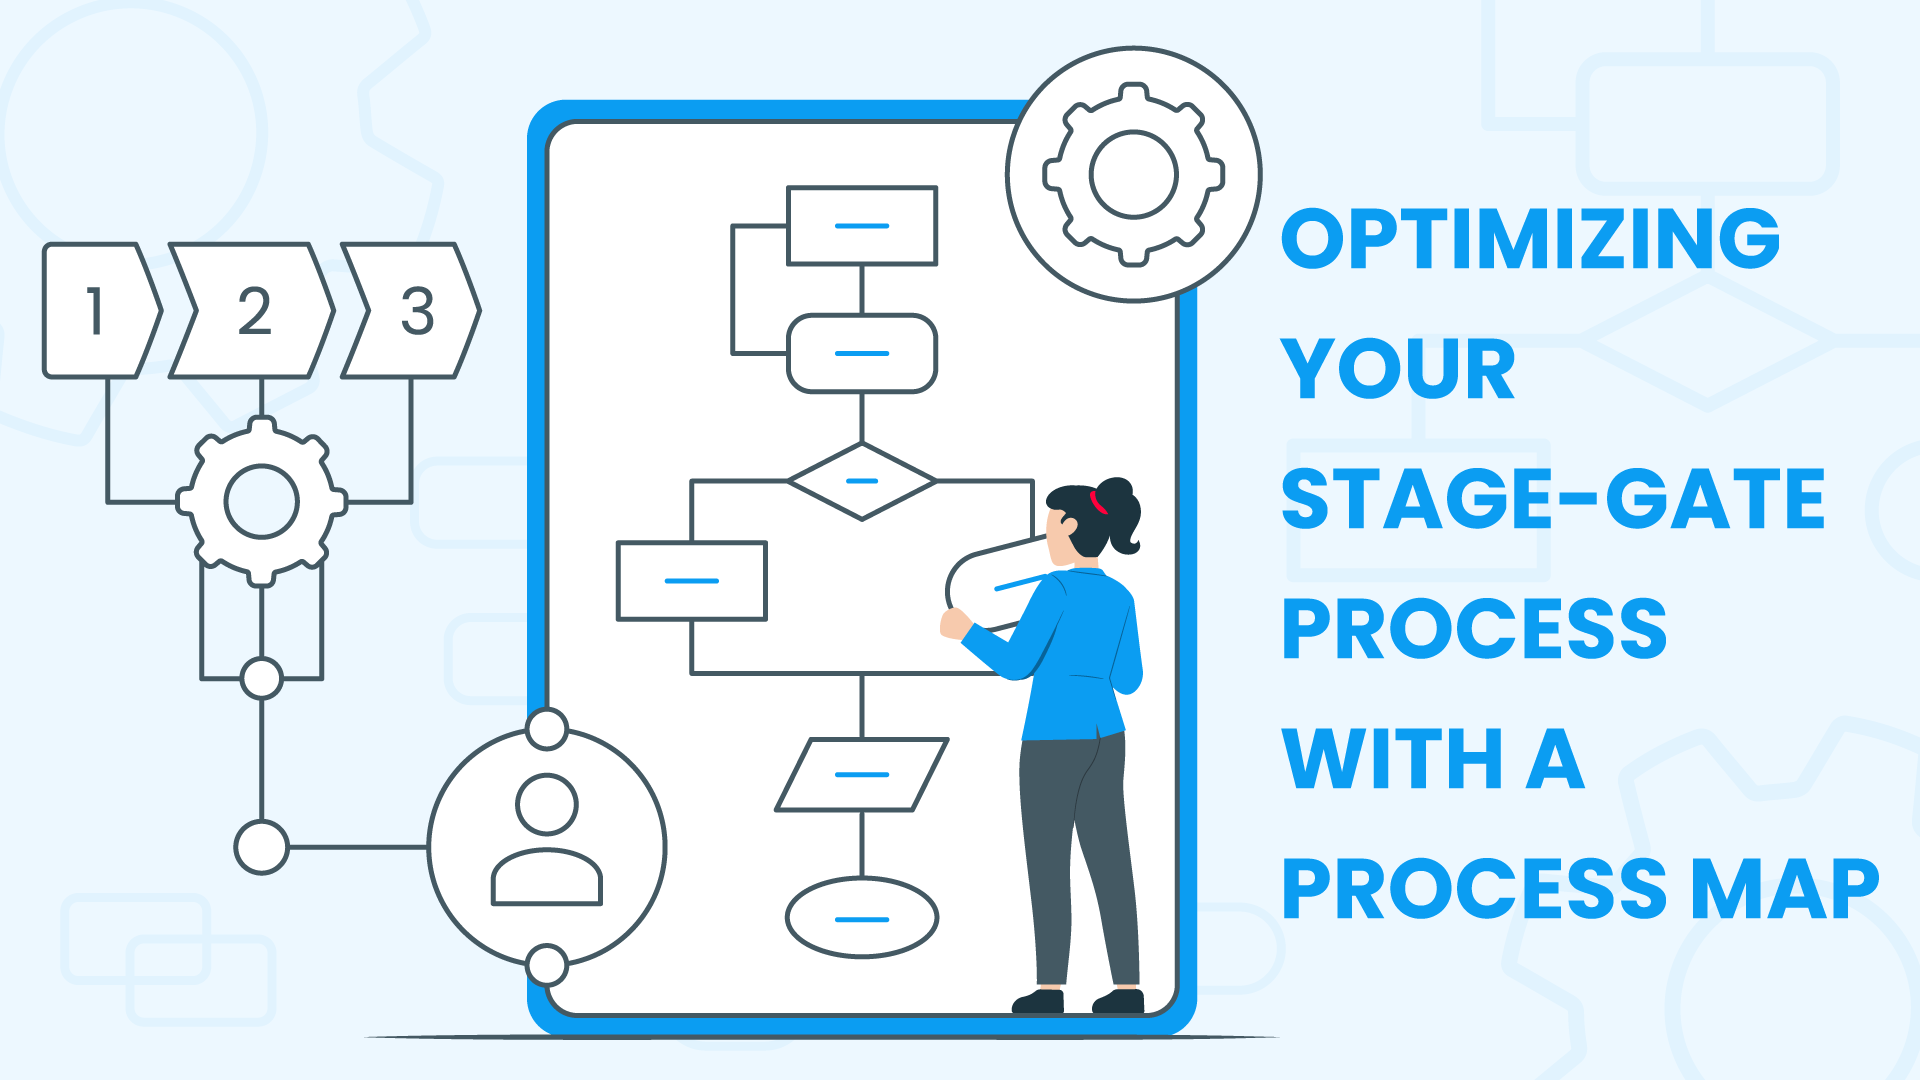
Efficiency and clarity are vital in product development. Product managers and project leaders constantly seek methods to streamline workflows and boost project efficiency. This article explores how integrating process maps with the Stage-Gate process—a structured framework guiding new products from conception to launch—can enhance organizational and operational clarity. We will discuss the role of process maps in refining the Stage-Gate process, helping streamline project management tasks and improving the success rate of new product launches.
Understanding the Stage-Gate Process
The Stage-Gate process is a robust project management framework designed to optimize the development of new products by guiding them from initial concept to market launch. This method divides the product development journey into several clearly defined stages, each culminating in a critical decision point, or “gate,” where the project’s continuation is evaluated based on specific, pre-established criteria.
Stages Explained: Each stage represents a phase in the project lifecycle, such as idea generation, feasibility analysis, development, testing, and launch. These stages ensure that all necessary steps are completed before moving forward.
- Idea Generation: This initial phase involves brainstorming and developing the foundational concept for the product.
- Scoping: A preliminary assessment to evaluate the feasibility and scope of the product concept.
- Business Case: A comprehensive analysis to assess the product’s market viability, financial metrics, and resource requirements.
- Development: The actual design and development phase where the product begins to take shape.
- Testing: Rigorous verification and validation to ensure the product meets the necessary standards and specifications.
- Launch: The final stage where the product is introduced to the market.
Gates Explained: Each gate serves as a checkpoint that ensures all necessary requirements and objectives of the current stage have been met before moving forward. During these gates, project teams review progress, evaluate results, and make informed decisions about whether to proceed to the next stage, make revisions, or discontinue the project.
Why Use the Stage-Gate Process: Utilizing the Stage-Gate process helps in minimizing project risks and enhancing the probability of success. By breaking the project into manageable segments and incorporating systematic reviews at each phase, it ensures each critical aspect is thoroughly evaluated, thereby enhancing decision-making and improving project outcomes.
Introduction to Process Mapping
Process mapping is a vital visual tool that provides a clear, detailed blueprint of the workflow within any project or process. It delineates the flow of tasks and outlines all steps, decision points, and outcomes, enabling teams to easily grasp how tasks progress from one stage to another and understand the relationships between different steps. This visual representation illustrates how inputs are transformed into outputs, simplifying complex processes and facilitating better operational clarity.
Types of Process Maps:
- Flowcharts: Simple diagrams that show sequential steps of a process.
- Swim Lane Diagrams: These diagrams organize actions by the team or department, clarifying responsibilities and interdepartmental interactions.
- Value Stream Maps: Focus on material and information flow and are primarily used in optimizing production processes.
Benefits of Integrating Process Mapping with the Stage-Gate Process
Integrating process mapping with the Stage-Gate process significantly boosts project management effectiveness and efficiency. By combining these approaches, organizations can achieve clearer oversight and more streamlined operations throughout the product development lifecycle. Let’s explore the key benefits of this integration:

Enhanced Visibility and Clarity: Process maps provide a detailed, visual representation of every stage and transition within the Stage-Gate process. This clarity helps in tracking progress, aligning team efforts, and reducing misunderstandings among team members.

Improved Communication and Decision-Making: The visual nature of process maps fosters greater understanding and alignment across teams. Additionally, these maps highlight critical decision points and the criteria needed at each gate, facilitating more informed and timely decisions.

Efficiency Gains and Increased Accountability: By identifying and eliminating redundancies and bottlenecks, process maps can significantly reduce the time and resources required at each stage. Moreover, a well-defined process map makes it easier to assign responsibilities and track progress, ensuring that each team member understands their role and expectations.
Together, these advantages not only enhance the operational aspects of the Stage-Gate process but also contribute to overall project success by ensuring each step is executed with precision and clarity.
Steps to Optimize the Stage-Gate Process Using a Process Map
To effectively optimize the Stage-Gate process, follow these steps:

Step 1: Identify Key Activities and Define Stages and Gates
Outline Stages and Gates: Document all crucial activities involved in each stage and gate of your project, clearly defining the criteria for progression at each decision point.
Set Criteria: Establish specific requirements that must be met to pass through each gate, including deliverables, approvals, and other essential milestones.

Step 2: Choose and Map the Current Process
Select the Appropriate Process Map Type: Depending on the complexity and audience of your project, choose from various types of process maps, such as flowcharts for simplicity or swim lane diagrams for clarity.
Develop a Current State Map: Create a detailed process map that includes all activities, decision points, inputs, and outputs, ensuring a comprehensive understanding of the current process.
Step 3: Analyze for Inefficiencies
Identify and Document Bottlenecks: Use the process map to pinpoint inefficiencies, delays, or redundant tasks. Understanding where bottlenecks occur is crucial for targeted improvements.
Highlight Decision Points: Mark key decision points and ensure they are clear and serve the project’s needs effectively.

Step 4: Redesign the Process Map for Optimization
Eliminate Redundancies and Simplify Tasks: Based on your analysis, modify the process map to enhance flow and efficiency. Combine or remove tasks where possible to streamline the process.
Improve Decision Points: Refine the criteria and processes at each decision point to speed up approvals and ensure clearer, more effective decision-making.

Step 5: Implement Changes and Monitor Performance
Roll Out and Communicate Changes: Implement the redesigned process map and communicate the new procedures to all team members and stakeholders. Provide necessary training to facilitate a smooth transition.
Continuous Monitoring: Regularly review the process to ensure it meets project goals and remains efficient. Use feedback and performance metrics to make ongoing adjustments.
Tools and Software for Process Mapping
Choosing the right tools and software is essential for effective. These tools should not only facilitate the creation of detailed process maps but also support team collaboration and customization to meet specific project needs. Here are the key aspects to consider when selecting a process mapping tool:
Key Features to Look For
- Ease of Use: Tools should have intuitive interfaces that simplify the mapping process, including drag-and-drop functionalities and user-friendly navigation.
- Customization: Look for software that allows for flexible customization options, enabling you to tailor maps to fit specific Stage-Gate requirements.
- Templates and Symbols: A vast library of pre-made templates and symbols can help streamline the creation of process maps, making it easier to start and maintain consistency across documents.
Benefits of Advanced Tools
- Real-Time Collaboration: Choose web-based tools that enable real-time collaboration. Such features are crucial for teams distributed across different locations, allowing them to work synchronously and make updates instantly.
- Integration Capabilities: Software that integrates seamlessly with other office and project management tools can enhance productivity and ensure a smoother workflow.
Conclusion
Process mapping is a transformative tool for enhancing the Stage-Gate process, leading to more efficient project management and better product development cycles. By providing a visual representation of each stage and gate, it improves clarity, enhances communication, and streamlines workflows.
To maximize the benefits, define your stages and gates, select the right type of process map, and outline your current processes. Analyze for inefficiencies, redesign the process map, and implement changes using tools like Cerri Project, which is tailored for Stage-Gate and supports real-time updates.
Embrace process mapping to elevate your project management efforts and achieve greater success in product launches.
* Stage-Gate® is a registered trademark of Robert G. Cooper.


























 Task Management


 Customization
